I'm making a 1490s Florentine gown to wear in Florence in October 2027. It's been quite a while since I've sewn anything, so this is where I'm keeping track of the research, the patterns, and what's actually working.
I About the project
Background
When most people picture a Florentine Renaissance gown, they picture the Medici look from the middle of the century, with wide, low necklines and stiff bodices. I love it on other people, but I have very sloping shoulders, and a neckline that sits out at the edge of my shoulders is just not going to stay put.
Honestly, I like the earlier gowns from the 1480s and 90s better anyway. The gamurra from that period has a higher, rounder neckline, a fitted bodice that laces up the front, and sleeves that tie on separately. That last part is my favorite, because the sleeves can be a different fabric from the gown, so they get to be the pretty part.
Inspiration Paintings
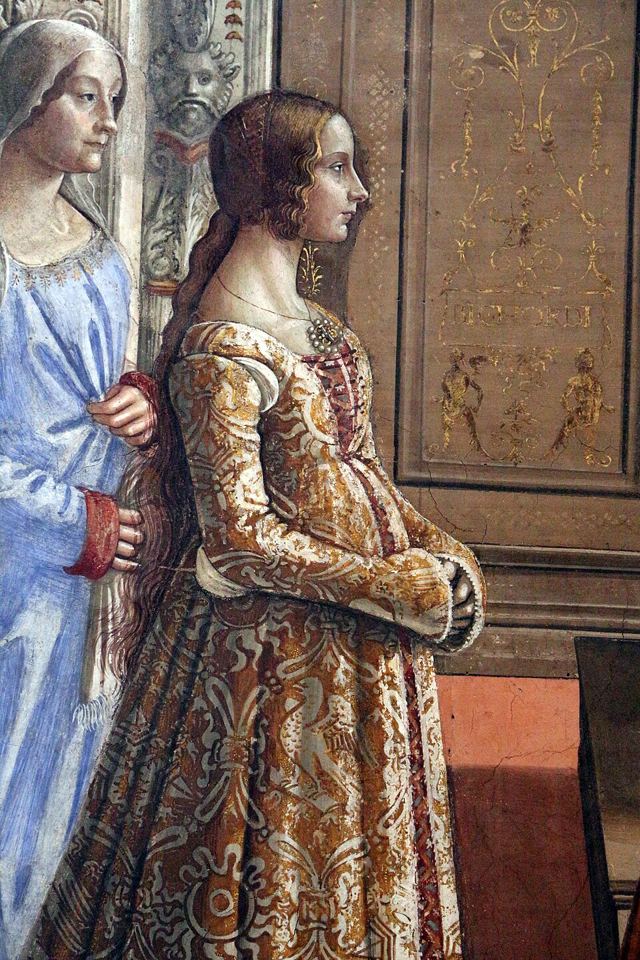
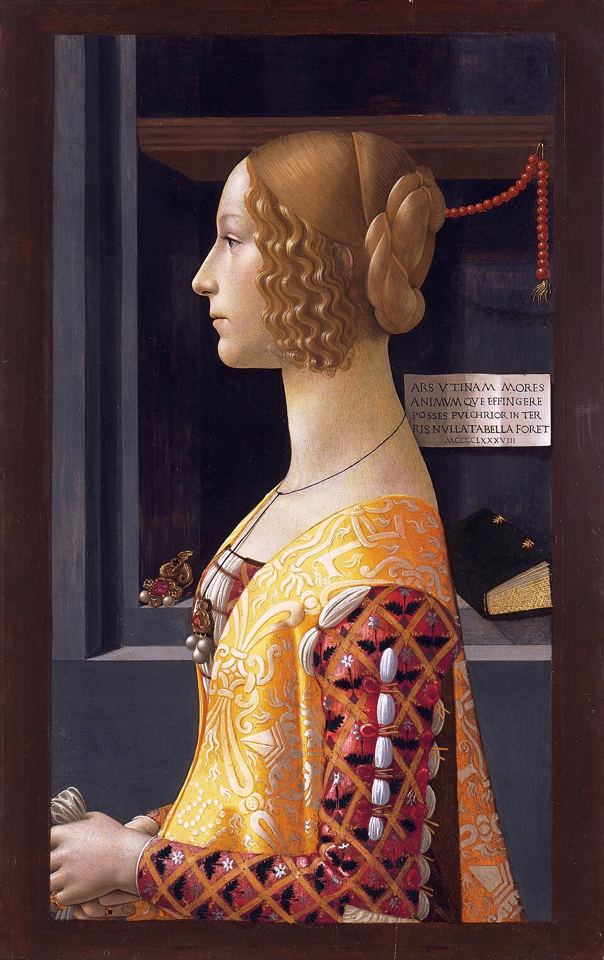
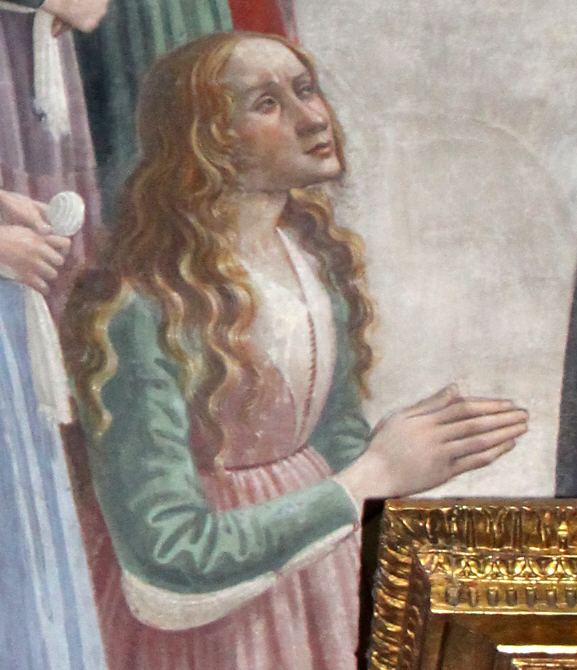
Birth of the Virgin, Domenico Ghirlandaio, Tornabuoni Chapel, Santa Maria Novella, finished 1490. Ludovica Tornabuoni in gold brocade, laced up the front in red. Her white camicia puffs out at the shoulder and elbow, where the separate sleeves are tied on.Portrait of Giovanna Tornabuoni, Domenico Ghirlandaio, 1488. A sleeveless overgown worn over a fitted gamurra, so the gamurra's patterned sleeves are what stand out.Stories of St. Francis (detail), Domenico Ghirlandaio and workshop, Sassetti Chapel, Santa Trinita, about 1482 to 1485. A pink gown laced up the front, with green sleeves in a contrasting fabric. Photo: Wikimedia Commons, CC BY 3.0.
Images from Wikimedia Commons. The paintings are over 500 years old and in the public domain; the Sassetti Chapel photo is credited above under its CC BY 3.0 license.
The layers
camicia
The linen shift that goes against the skin. It shows at the neckline and puffs out through the gaps where the sleeves tie on.
gamurra
The gown itself, with a fitted bodice that laces up the front, a full skirt, and sleeves that tie on.
cioppa
The overgown worn on top of the gamurra. Some had sleeves and some were sleeveless.
The patterns
I'm using Margo Anderson's Italian patterns for the underpinnings (that's where the camicia is), the gamurra, and the cioppa. They're dated 1490 to 1530, which is right where I want to be.
For the overgown I went with the cioppa instead of a giornea.
These aren't exactly beginner patterns, and it's been a while since I've sewn. The instructions assume you already know a lot. The upside is that the manuals are full of her research notes on the period, so even the pages I have to read twice teach me something.
Patterns
Margo Anderson underpinnings (camicia), gamurra, cioppa
Cioppa view
View C, sleeveless
Waist
Raised 2 in above my natural waist
Front lacing
2 in gap at center front
Headwear & hair
Not yet. I'll figure that out once the gown is further along.
Measuring, then mockups
Before I start on the gamurra and cioppa, I need the trickier measurements, the ones I can't take on myself, so I can figure out which size I need for each piece.
After that, the bodices for both the gamurra and the cioppa get a mockup before I cut the real fabric. I don't trust my own pattern alterations yet, and the bodice fit is the part that's hardest to fix later. I'm not bothering with mockups of the skirts.
The mockups will be 60 in wide cotton muslin. For stiffening I'm using cotton duck and some wool I've had squirreled away.
Fabric
Camicia: white linen
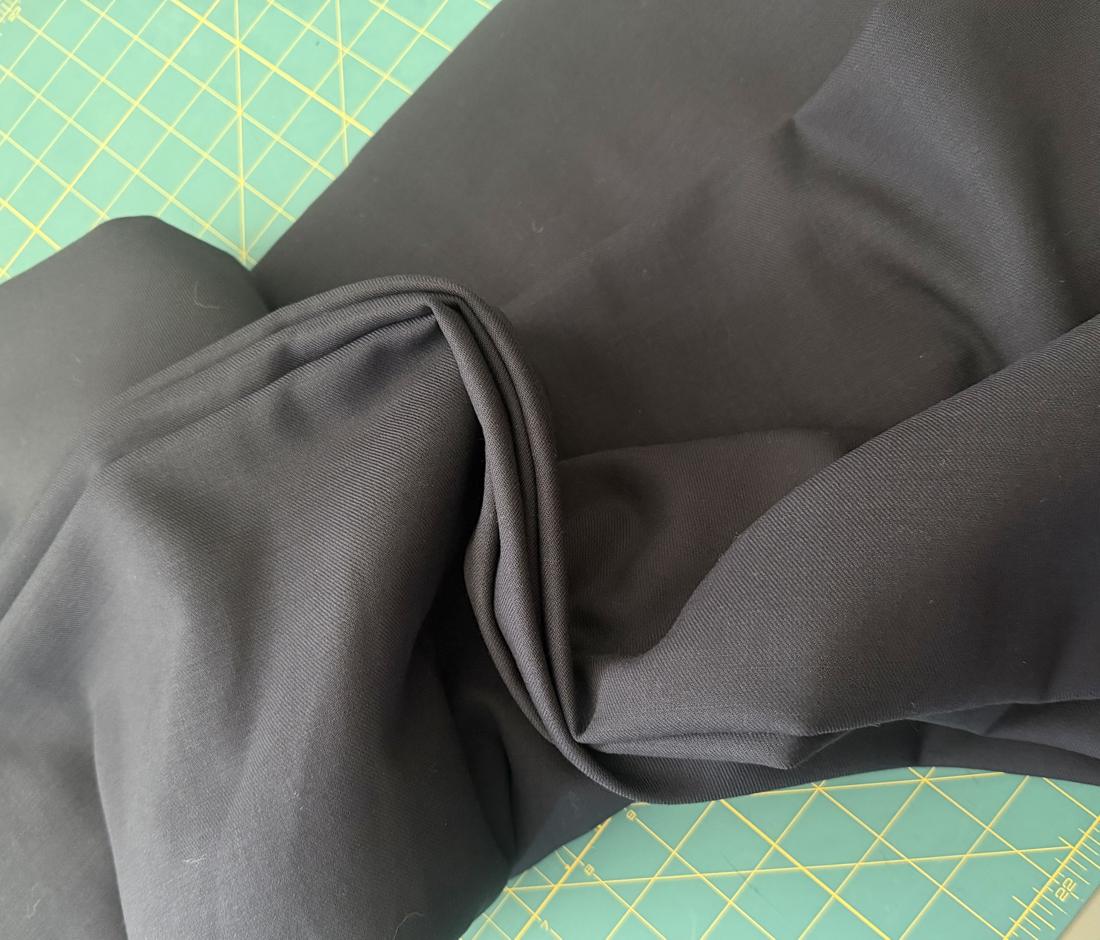
Gamurra: navy wool suiting
Cioppa: warm green silk taffeta, TBD
Sleeves: antique gold silk taffeta
The navy wool for the gamurra.
How I'm sewing it
I'm sewing the finished pieces by hand with linen thread. My mother lent me her Elna, so the mockups will go on the machine, where speed matters and nobody cares what the seams look like.
II Progress log
Progress log
Newest first. Tap a piece to see just its entries.
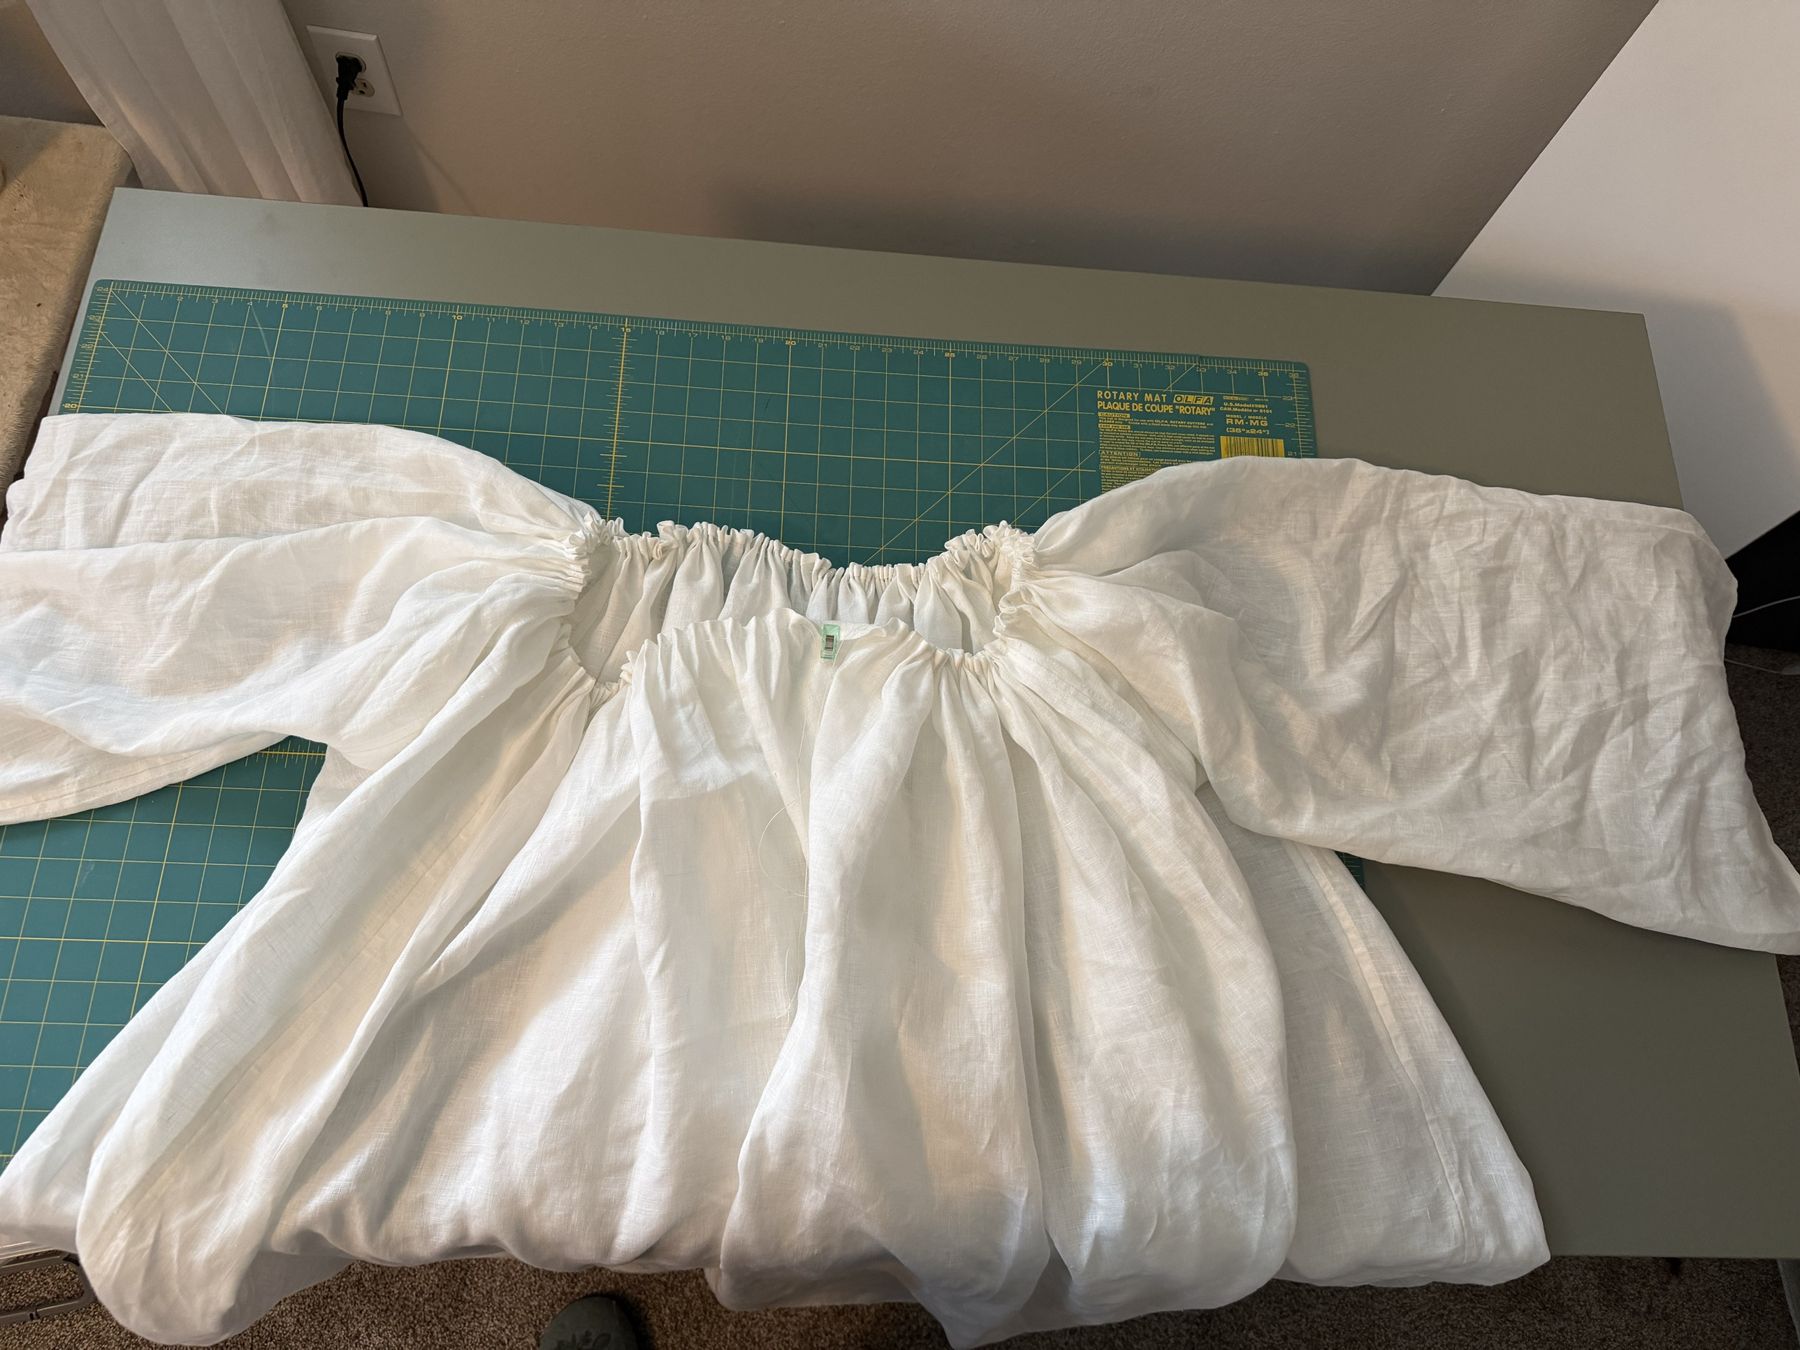
The camicia is finished up to the neckline! The sleeves are in, and I gathered the neck with strong button thread just to see what it would look like.
My worry now is whether those gathers will stay put. The camicia is the first layer I'll be wearing while I fit the gamurra, so it's going to get pulled on and off a lot. I might run a second line of stitches to make sure it holds before I commit to the band. I also want to do some smocking.
✓Slashed the side panels and set in the sleeves
✓Gathered the neckline with button thread to see how it looks
○Make sure the gathers hold through the gamurra fittings (maybe a second row of stitches)
○Add some smocking
○Make and sew on the neckband
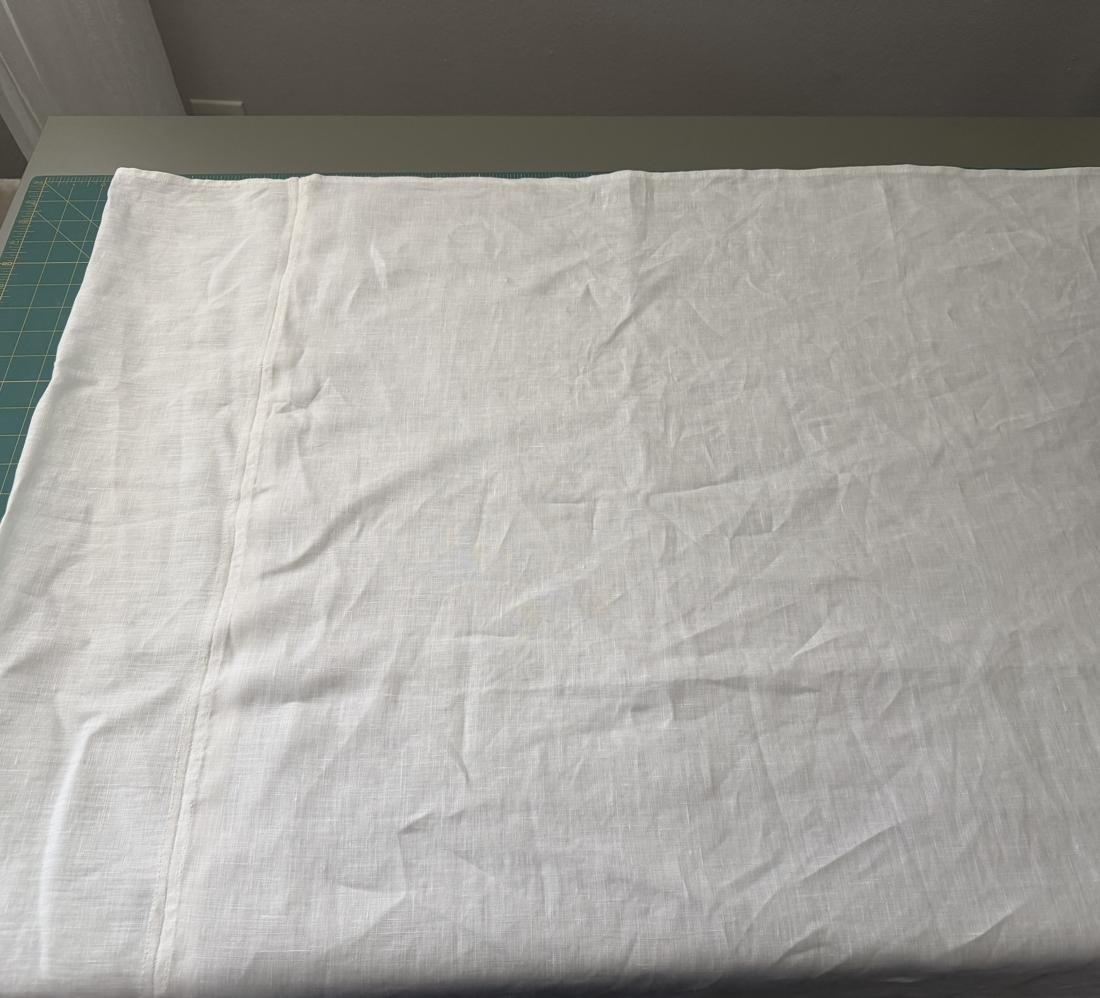
And yes, I have ironed it many times since the last post. It's linen. It's going to wrinkle no matter what.
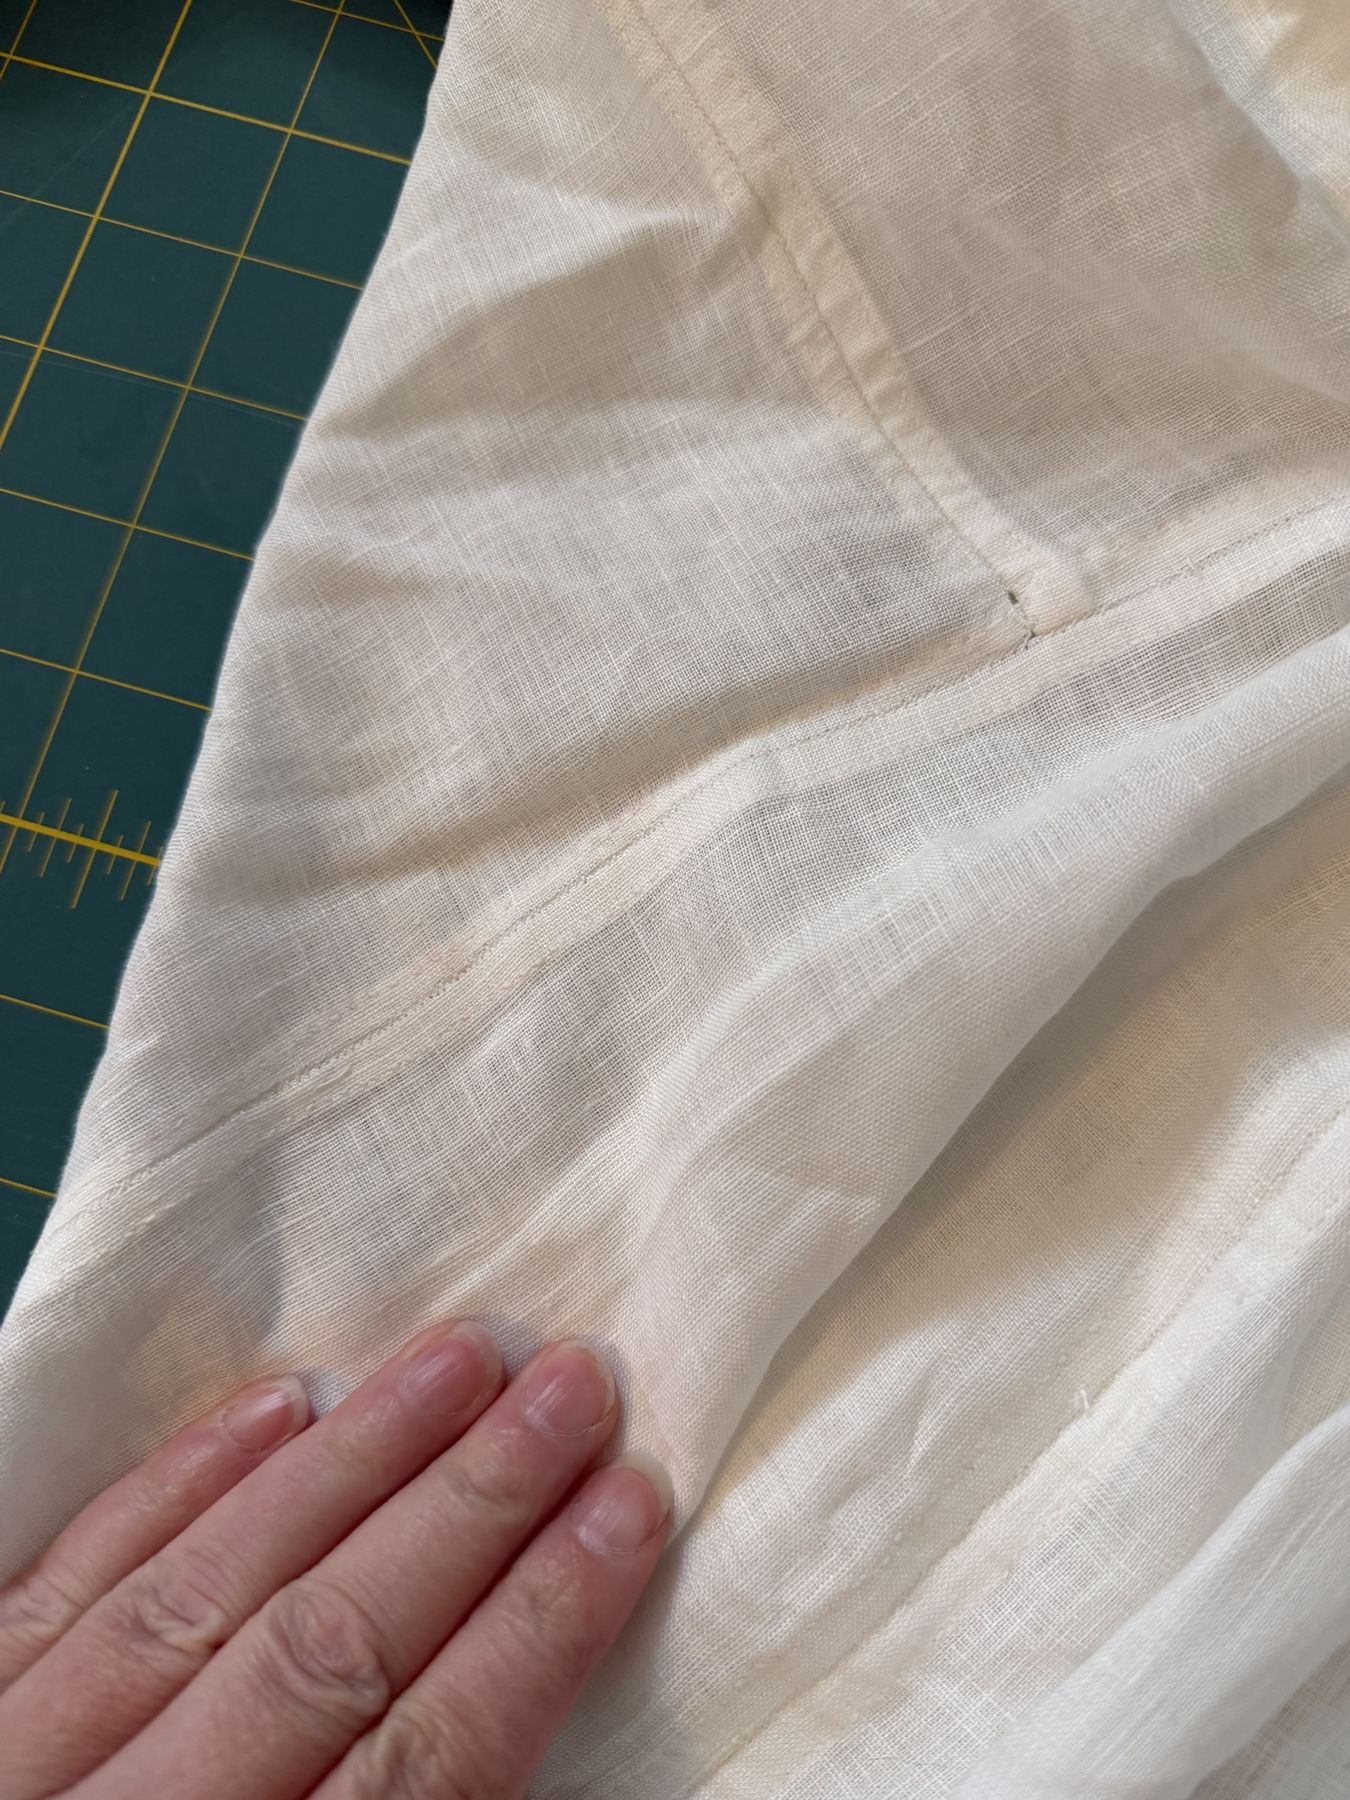
Where the sleeve gusset meets the side panel.The whole camicia, laid flat with the neckline gathered.
I meant to machine-sew the long seams. My Costco Brother had other ideas. After it ate a fair amount of my nice linen thread, I gave up and decided to just hand-sew the whole camicia with linen thread.
Cutting on the grain
To get straight cuts, I pulled a single thread out of the linen across the width and cut along the line it left. It worked fairly well, even though the thread broke constantly and I spent a lot of time hunting for the end. I'm pretty sure my cuts came out nice and straight on the grain, though, so it was worth it.
My linen was 60 in wide, so I could use just two body panels and two side panels instead of piecing together a bunch of narrow widths like they would have in period.
The Elizabethan seam
For the seams I'm following Extreme Costuming's Elizabethan seam. The idea is that you finish every edge of every piece first, then whip the finished edges together. No raw edges anywhere, which matters on a garment that isn't lined.
Turn under every edge of each piece twice (since the camicia isn't lined) and press.
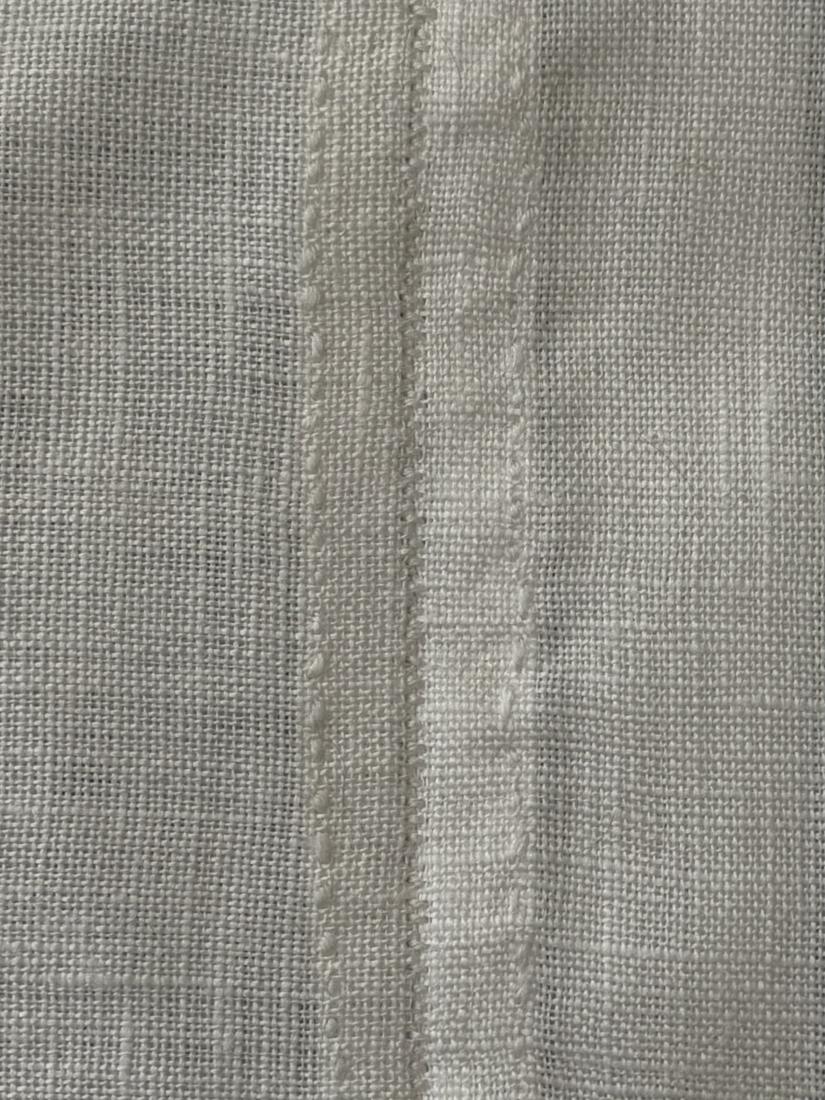
Stitch the folded edges down with a small running stitch. The stitches show on the outside, but they did back then too.
Put two finished edges right sides together and whip stitch them, only going a couple of millimeters into the fabric.
Gently pull the pieces open so the seam lies flat.
The bonus I didn't expect is that when every piece is finished on its own, it's much easier to see how they fit together. For someone who hasn't sewn in a long time, that's been really helpful.
I'll confess I don't actually know if the Elizabethan seam is right for 1490s Italy. It's named for a different time and place, after all. But it's the way I feel most comfortable sewing while I'm this out of practice, and this dress is just for me anyway.
I didn't add any decorative stitching or insertion lace on the seams. That would have been nice, and maybe on the next one.
The neckline
I hemmed the neck edge with a double fold like every other edge before I'd really thought about how the neckline should be finished. Only after the hem was done did I decide to add a neckband. By then the hem was finished and fairly thick, so instead of unpicking it I'm keeping it as a little frill that sits above a flat band.
✓Cut every piece with the pulled-thread method
✓Double-folded and hand-stitched every edge
✓Whipped the body and side panels together
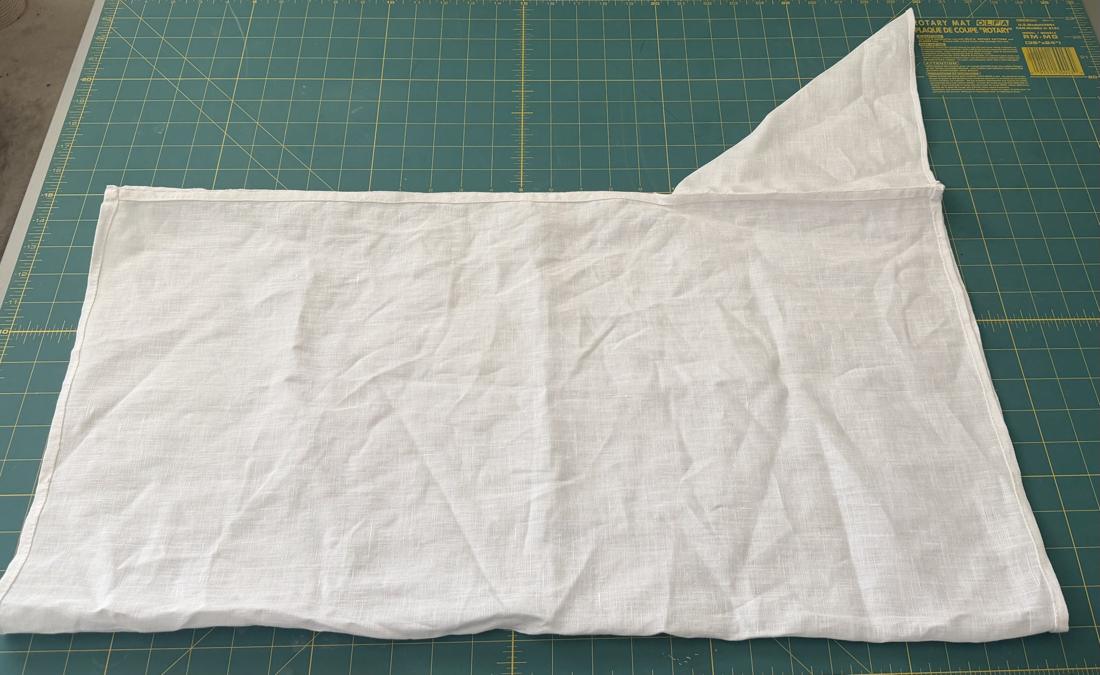
✓Set the gussets into the sleeves
✓Hemmed the neckline (which will become a little frill above a flat band, because I am not unpicking that hem)
Please excuse the lack of ironing.
Two finished edges whipped together, then opened flat. The running stitches holding each folded edge down show on either side.A sleeve with its underarm gusset set in. The gusset is the triangle sticking up at the end.The body and side panels, all whipped together.
Next up is slashing the side panels to set in the sleeves, and I'm a little anxious about cutting into those nice finished edges after all that work. It's on hold anyway. I'm pretty much out of linen thread, so the camicia waits until my new thread from Burnley & Trowbridge shows up in the mail.